Environment Size Investigation and Simple Vector Map Illustration
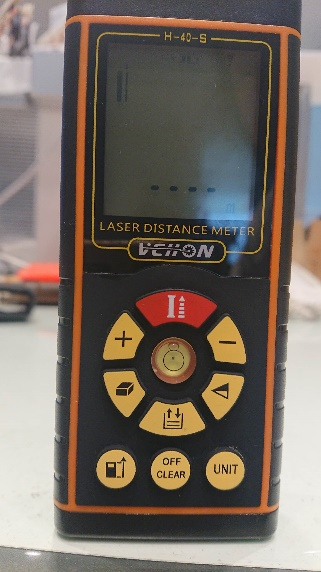
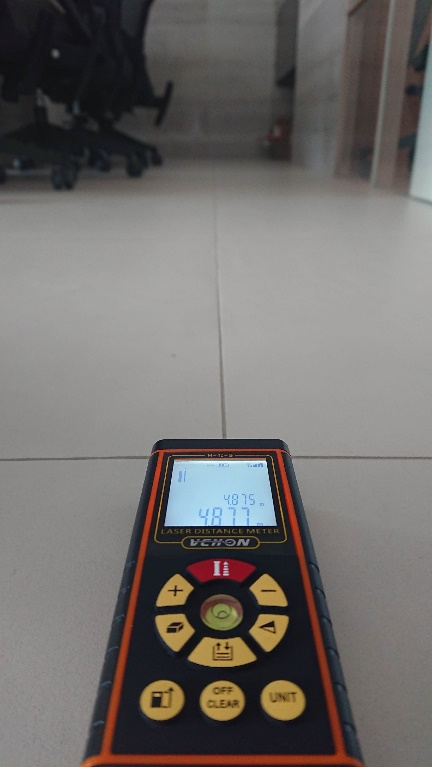
1. Investigation Tool, we use a simple handheld Infrared distance meter
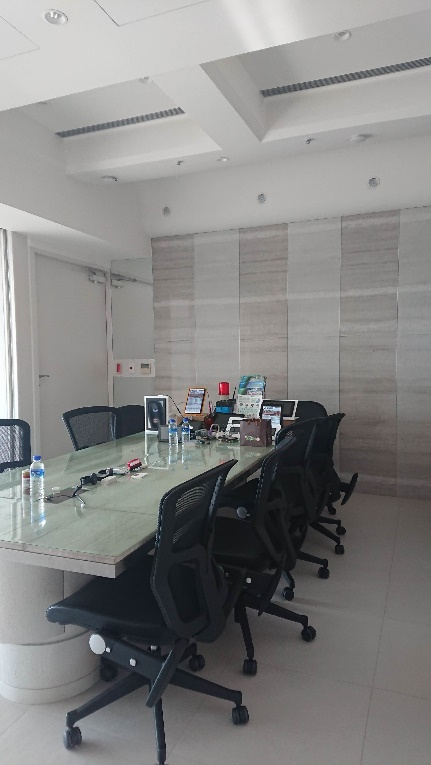
2. Example environment to be investigated and its size detected shown below
3. Hand Illustration to mark the dimensions
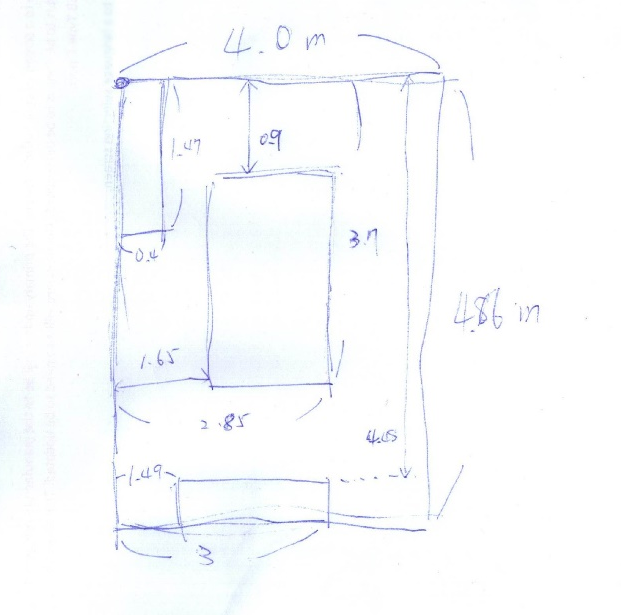
Note that a few key points here for map illustration and size measurement:
(1) Mark obvious objects e.g. Table, shelves and obvious obstacles
(2) Using top left corner as basepoint for size measurement. This is convenient for later map drawing
(3) Users can mark the positions of which they have decided to set up an anchor to help with easier anchor set up later on
Using Microsoft Paint to Illustrate Simple Map File
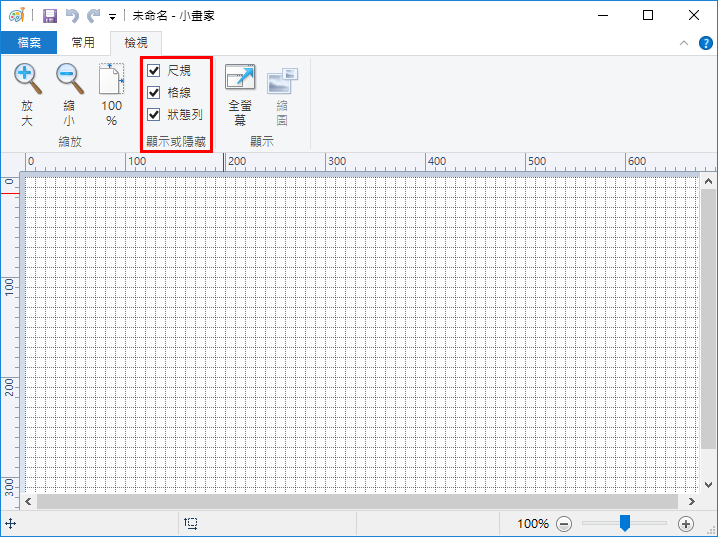
We demonstrate illustration of simple map file with the use of Microsoft paint here. Microsoft pain provides rulers and several simple graphics which is sufficient for simple map drawings.
1. Turn on the ruler and gridline function to assist your illustration (optional)
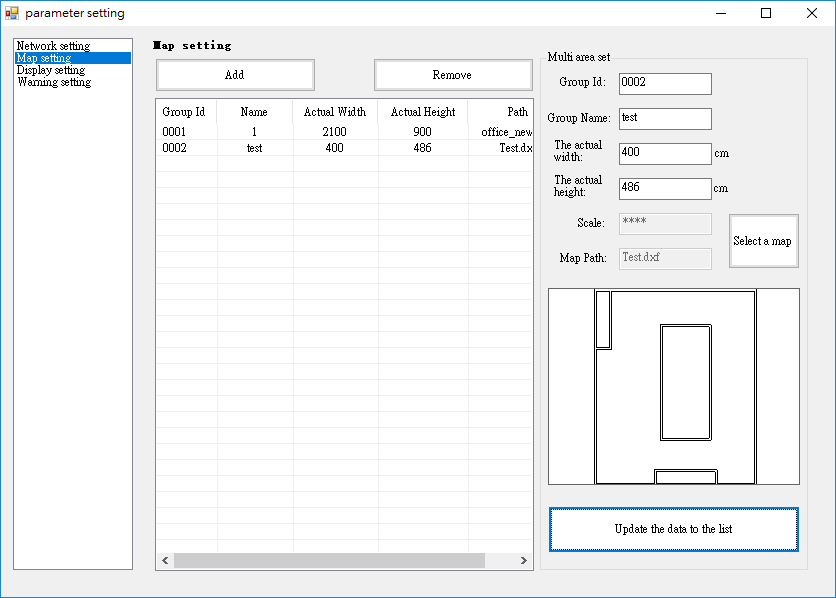
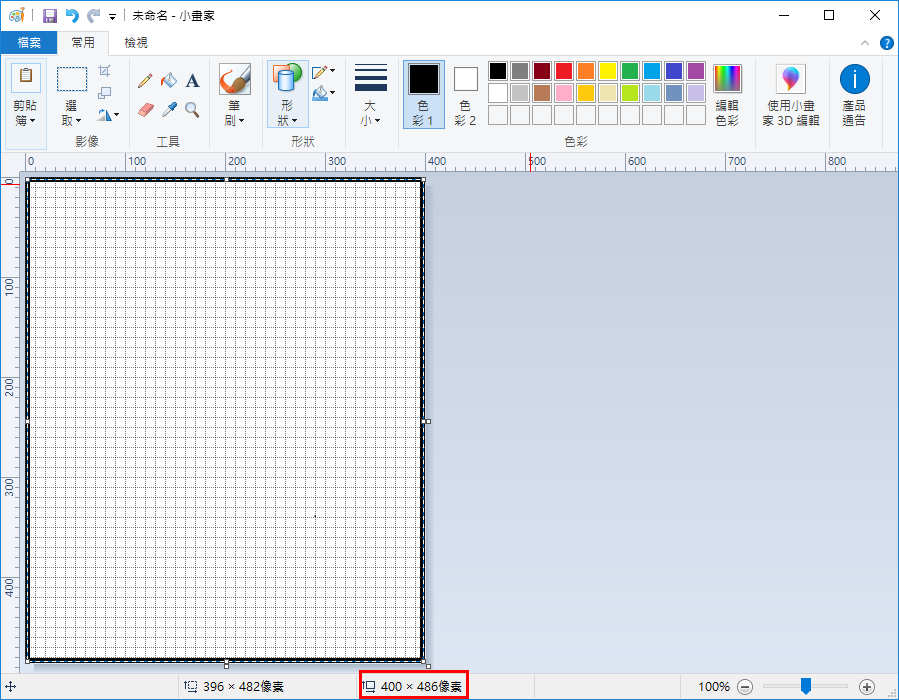
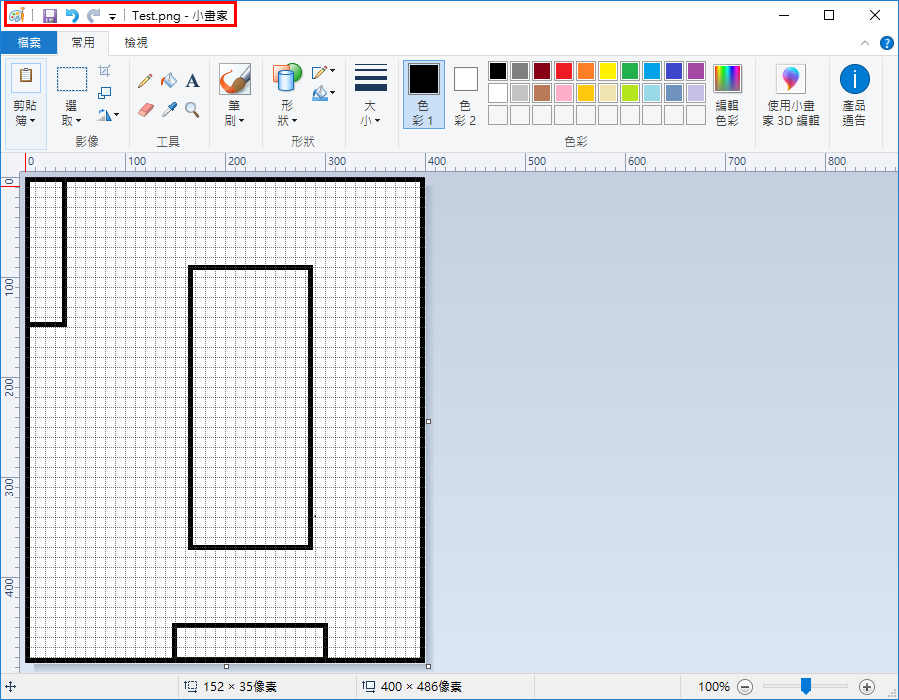
2. Set the size of the positioning map, ensure it is the same as the size we detected earlier
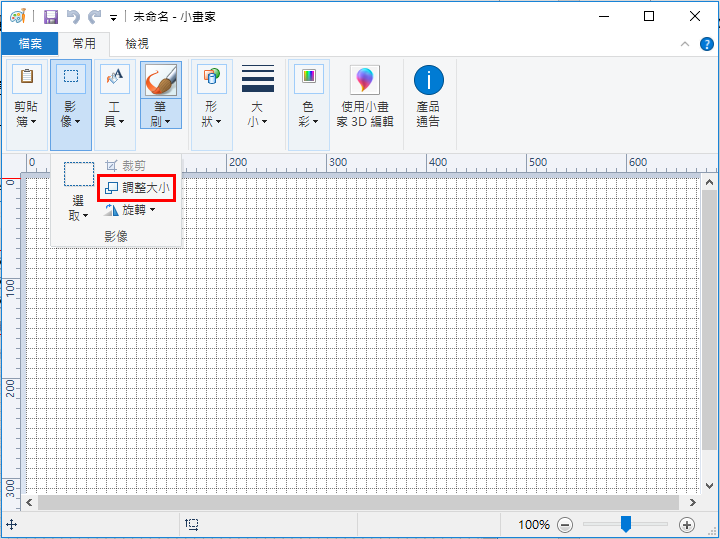
We use 1 pixel as 1cm to set the dimension, the area measured earlier is 4 x 4.86 M

3. Confirm the size opened. The author is used to draw a border around the image to differentiate it easier from the white underlying background
Note: As we will be using AlgoLab_Photo_Vector software to convert the map document to dxf format later, it is recommended to use black and white monocolour for map illustration. This is due to colour information will be lost when positioning map is inverted into dfx file and to avoid situation which light colour may not be differentiated as line. Also, draw lines with at least 3 pixels to avoid it being neglected during vector graphics conversion.
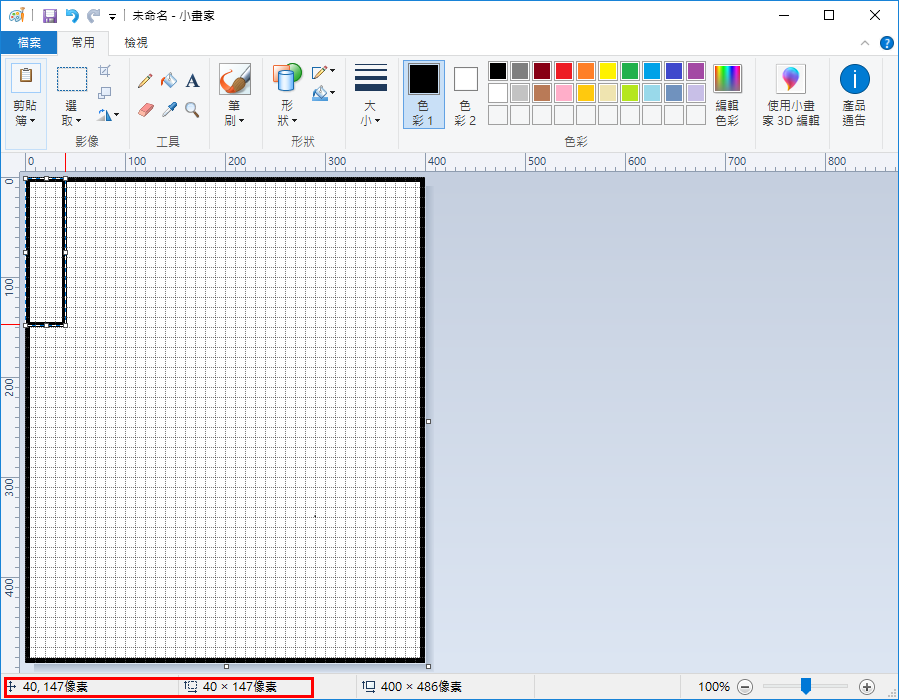
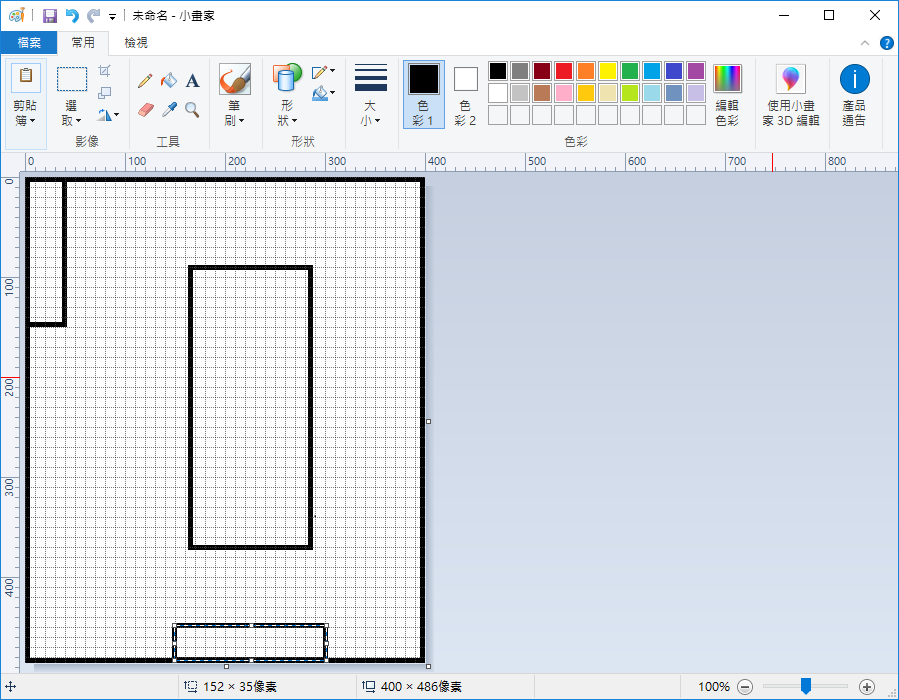
4. Draw marked objects according to dimension measured. The author is used to drawing using the pixel amount as shown below
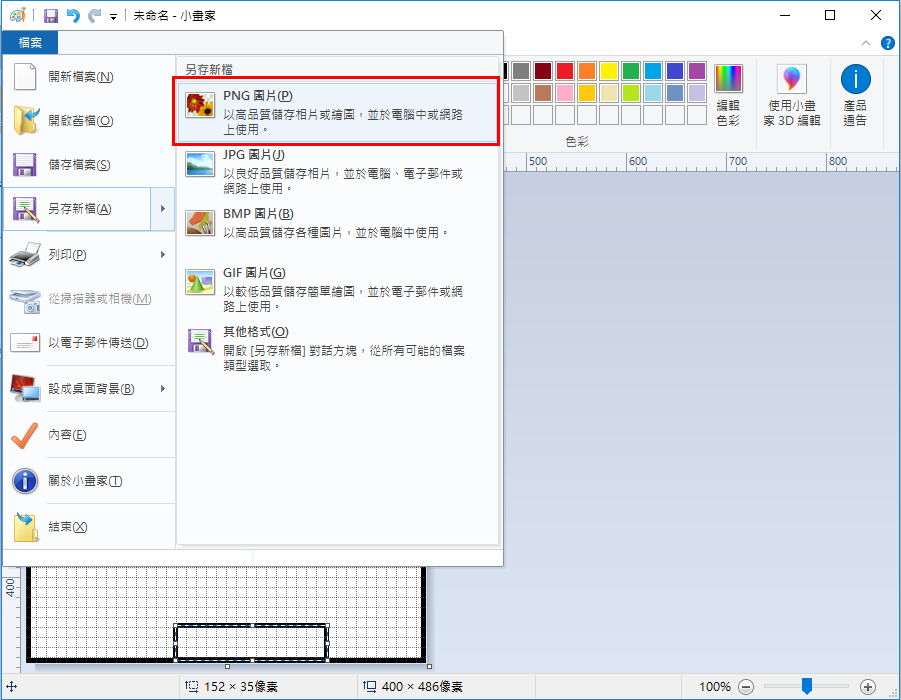
5. Save it as PNG file after drawing completed. PNG image file will not destroy the image when zooming.
Using AlgoLab Photo Vector to produce dxf file
1、Install the AlgoLab_Photo_Vector software. Double click “Algolab_Photo_Vector.msi” and continue with the Next button to install software

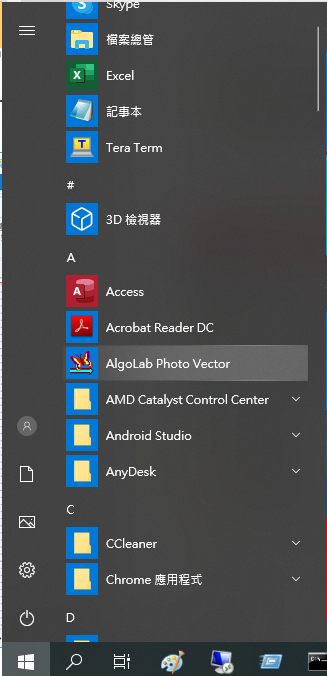
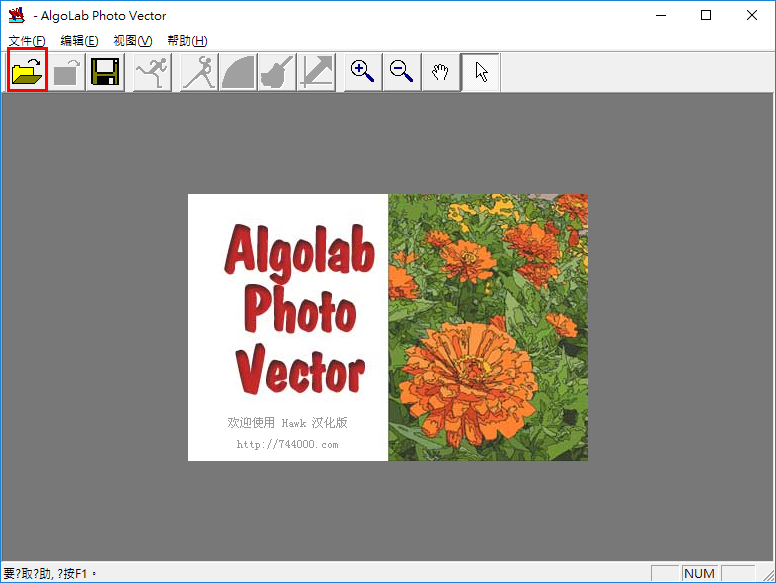
2、Open “Algolab_Photo_Vector” in application
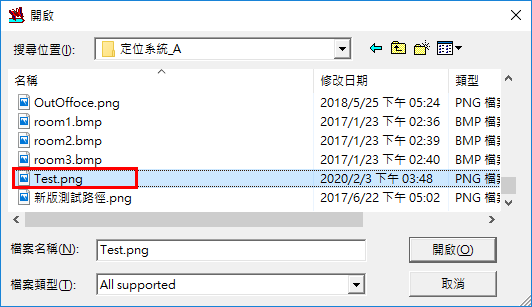
3、Select “Open” under “File” to open the file that you wish to convert to vector graphic
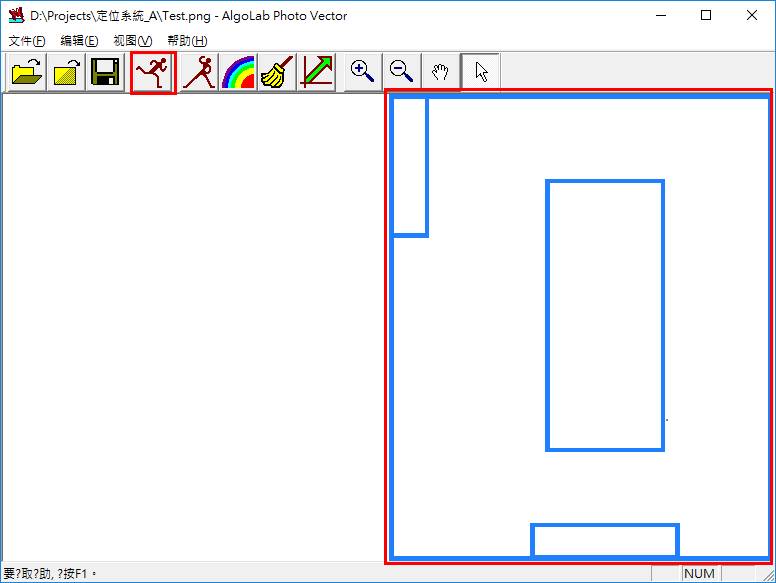
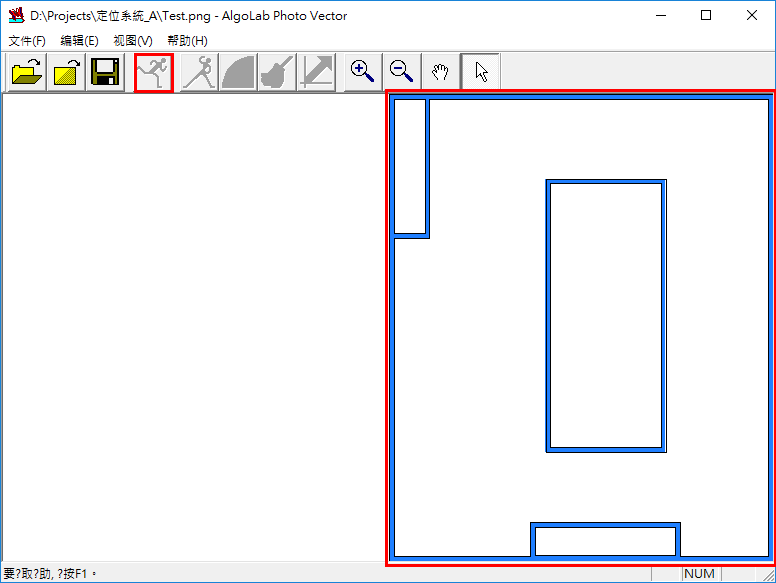
4、Select “sequence of operations” button, black lines will be produced as shown below:
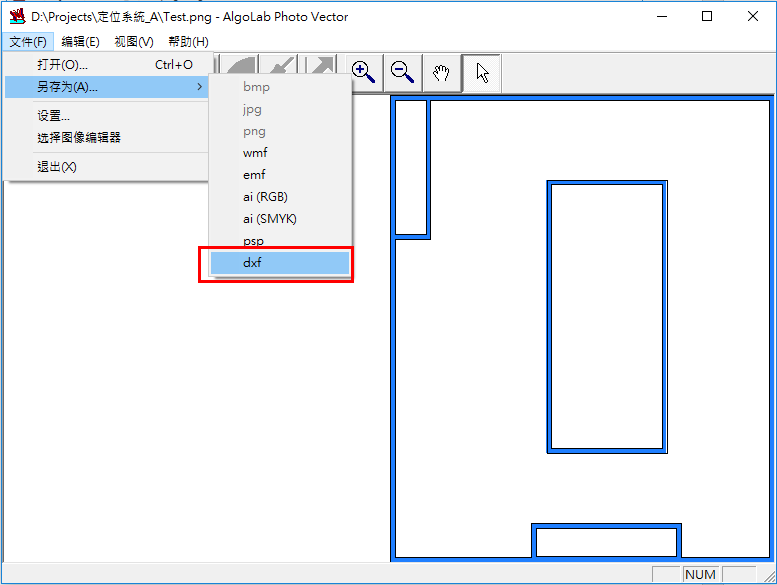
5、Select dxf under “save as” in “file”. Only dxf graphic format can be used in “set the map”
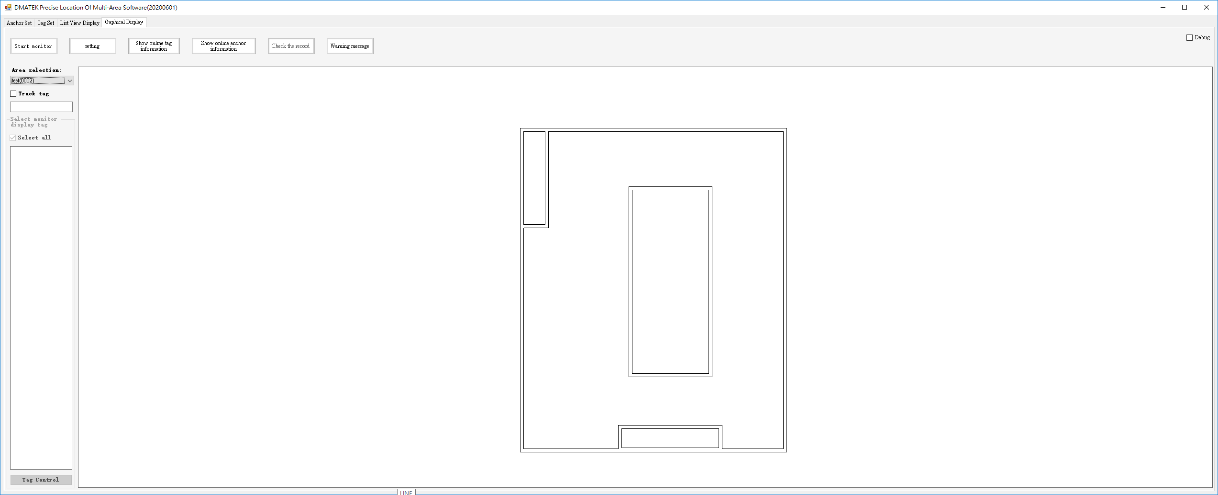
6、Let us now confirm whether this dxf file is the one we need. Please note that dxf file cannot be opened with common image browser, we are going to set it straight to our software to check whether it has been converted to dxf format successfully.
7、Execute the Precise positioning software (PrecisePosition.exe), set the graphic file that was converted to dxf format just now as positioning graphic. If the dxf file can be zoomed normally, this indicates that it is now successfully converted as dxf vector graphic